
Why Cracking Grout Deserves More Than a Quick Fix
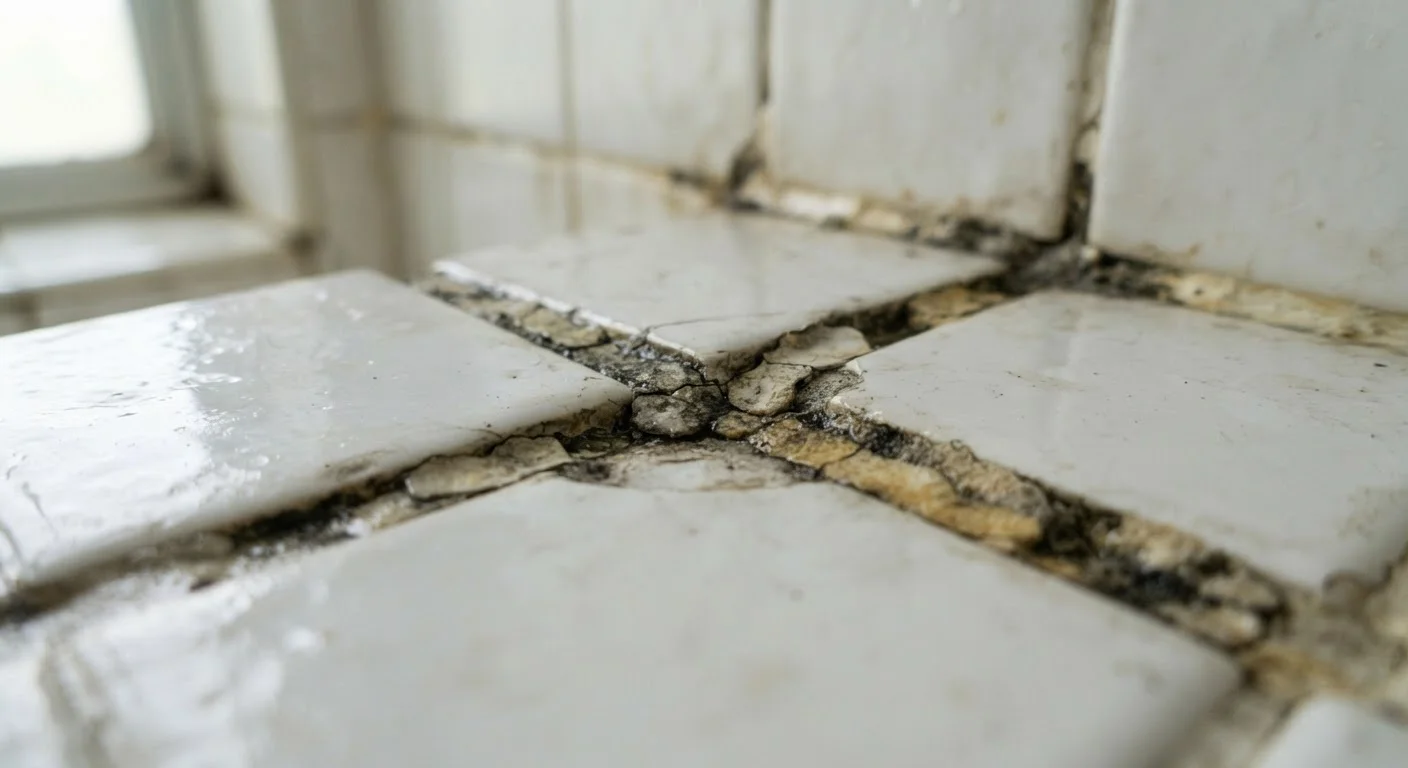
Cracking grout in a bathroom is easy to dismiss as cosmetic wear - a minor annoyance to be patched on a weekend afternoon. But grout serves a functional purpose beyond filling gaps. It seals out moisture, stabilizes tile edges, and signals how well the underlying installation was executed. When it cracks, it's often telling you something worth listening to.
Understanding what's actually causing the cracks determines whether a simple regrout will hold or whether you're patching over a problem that will resurface - sometimes worse - within months. The mistakes outlined below are the most common reasons bathroom tile grout fails, and knowing them helps you make a smarter, longer-lasting repair decision.
Moisture Behind Tiles Is a Serious Risk
Once grout cracks, water can travel through the joint and into the wall or floor assembly with every shower. Over time, this leads to mold growth, substrate rot, and in serious cases, structural damage to framing or subfloor. Addressing cracked grout promptly - and correctly - is a moisture management issue as much as a cosmetic one.
Common Mistakes That Lead to Grout Failure
Most grout cracking traces back to one of a handful of predictable errors - either in how the tile was set or in how the bathroom environment was managed afterward. Here's what to look for:
Using grout instead of caulk at corners and transitions where two planes meet.
Why it happens: Many DIYers (and even some contractors) grout every joint for visual consistency, not realizing that corner joints are movement joints by nature. Grout is rigid; it cannot flex with the normal expansion and contraction that occurs where a wall meets a floor.
Setting tile over a subfloor that has too much flex or deflection.
Why it happens: Tile and grout are rigid materials. When the floor beneath them moves even slightly under foot traffic or load, the grout absorbs stress it isn't designed to handle. Wood subfloors in older homes are particularly prone to this if they weren't stiffened before tiling.
Mixing grout with too much water, weakening its final strength.
Why it happens: Excess water makes grout easier to spread and work with, so it's a tempting shortcut - especially for first-time tilers. However, the extra water evaporates during curing, leaving behind a porous, weakened grout that cracks under normal stress.
Skipping grout sealing or resealing over time, especially with sanded or cement-based grout.
Why it happens: Unsealed grout absorbs moisture repeatedly during showers and cleaning. This ongoing wet-dry cycle causes gradual degradation of the grout's internal structure, making it brittle and prone to cracking - even if the original installation was sound.
Applying grout before tile adhesive (thinset mortar) has fully cured.
Why it happens: There's a natural pressure to complete a tiling project quickly, and thinset may look dry on the surface before it has fully cured throughout. Grouting too soon traps moisture beneath the tile layer and can cause the bond to shift slightly as curing continues - stressing the grout.
L/360
Minimum floor stiffness standard for tile installation
The Tile Council of North America references this deflection limit as a baseline requirement for floors intended to support tile.
24-48 hrs
Recommended thinset cure time before grouting
Most thinset mortar manufacturers specify a minimum cure window before grout can be applied without compromising the bond.
1-2 years
Recommended grout resealing interval in wet areas
Industry guidance from tile installation associations generally suggests resealing cement-based grout in showers at least every one to two years.
What Cracked Grout Is Actually Telling You
The pattern of cracking often reveals the cause. Cracks confined to grout lines at wall-to-floor corners almost always indicate movement - the junction between two planes, where a flexible caulk (rather than grout) should have been used in the first place. Hairline cracks distributed evenly across a tiled floor surface often point to a flexible subfloor or a missing isolation membrane. Isolated cracks near a shower drain or faucet fixtures may suggest water has already been penetrating and softening the substrate beneath.
Before any repair, press gently on the tiles surrounding cracked grout. Tiles that flex, click, or feel hollow when tapped - a technique called sounding - indicate that the tile bond has failed beneath the surface. In those cases, regrouting the surface alone will not solve the problem, and professional assessment is worth considering, particularly when the area is large or near plumbing.
Don't Regrout Without Identifying the Cause
Applying fresh grout over cracks without addressing the underlying cause - whether that's subfloor flex, missing expansion joints, or a failed tile bond - typically results in the same cracks returning within a season. Take time to diagnose the root issue first. If tiles are hollow, loose, or the cracked area is large, consult a licensed tile contractor before proceeding. Unpermitted structural work in bathrooms can also affect homeowners insurance claims related to water damage.