
Why Weatherization Pays Off Before the Cold Hits
Weatherizing your home is one of those unsexy but genuinely worthwhile seasonal tasks. When outside temperatures drop, every gap around a door frame or uninsulated pipe becomes a liability - either a source of heat loss or a potential repair bill. The good news is that the most impactful weatherization steps don't require advanced skills or expensive contractors.
This guide walks through the key areas to address before winter sets in: air sealing, window and door weatherstripping, pipe protection, and a quick attic check. Paired with the broader fall home maintenance checklist, these steps give your home a solid foundation for the cold months ahead.
What you will need
What You'll Need
Most weatherization tasks call for materials available at any hardware store. Gather what applies to your home before you start so you're not stopping mid-task.
Caulk gun and exterior-grade caulk
Seals gaps and cracks around window frames, door frames, and where siding meets trim.
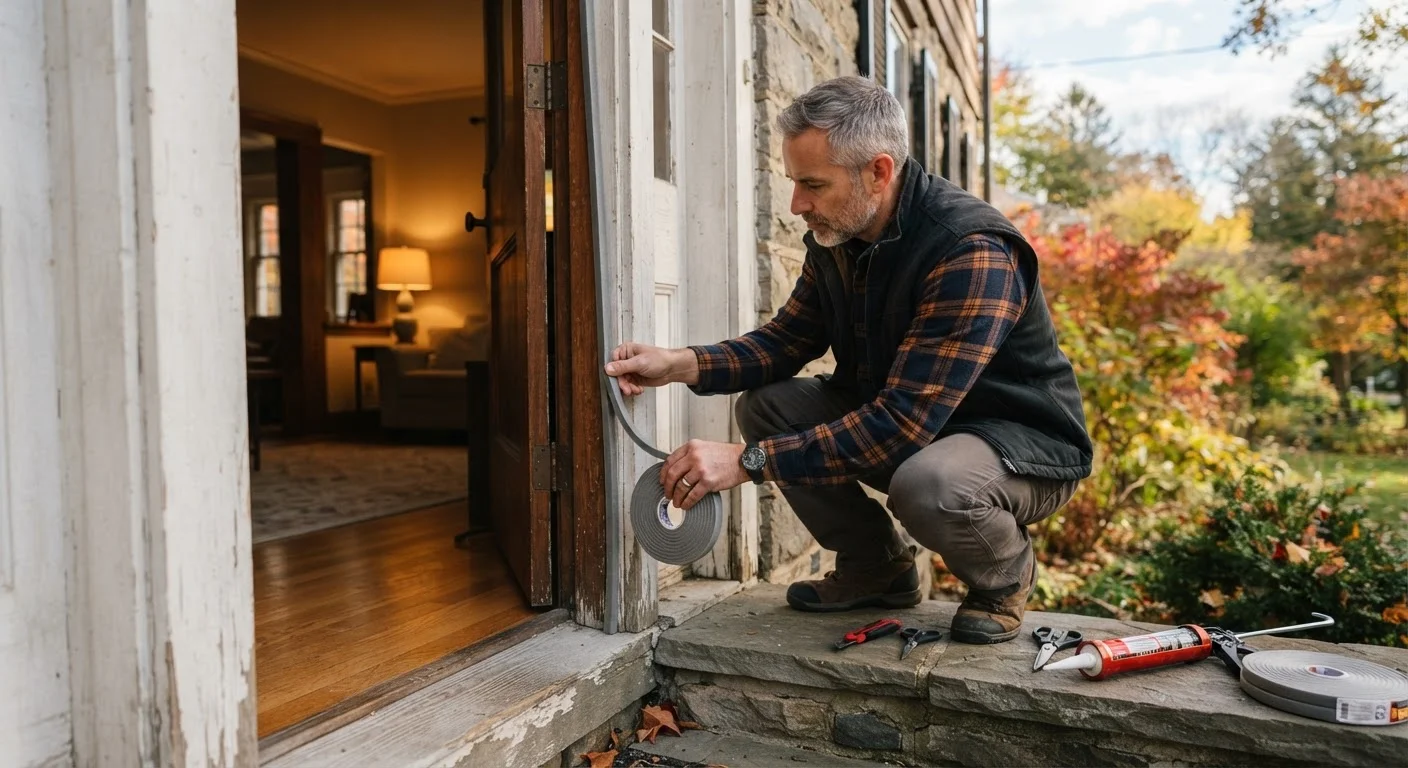
Foam weatherstripping tape
Creates a compressible seal along door and window stops to block drafts.
Door sweep or door shoe
Closes the gap between the bottom of exterior doors and the threshold.
Pipe insulation foam sleeves
Wraps exposed pipes in unheated spaces to slow heat loss and reduce freeze risk.
Expanding spray foam
Fills larger irregular gaps around pipes, wires, or ducts passing through walls.
Flashlight or headlamp
Illuminates dark crawl spaces, attic corners, and areas behind insulation.
Incense stick or smoke pencil
Helps identify air movement near suspected draft locations on a windy day.
Step-by-Step Weatherization
Work through these steps systematically - starting from the outside and working inward tends to be the most efficient approach. Check off each area before moving to the next.
Inspect and seal exterior cracks and gaps
Walk the perimeter of your home and look for gaps where different materials meet - where siding meets the foundation, around window and door trim, and where utility lines or pipes enter the wall. Any gap wider than roughly 1/8 inch is enough to let in significant cold air over time.
Use exterior-grade caulk for gaps under about 1/4 inch. For larger openings around pipe penetrations, expanding spray foam provides a more complete fill. Allow caulk to cure fully before painting over it.
Replace or install weatherstripping on doors and windows
Check all exterior doors by closing them against a piece of paper - if you can pull the paper out easily, the seal is inadequate. Replace worn or compressed weatherstripping along the door stops (the three sides of the frame the door presses against). Self-adhesive foam tape is the easiest option; v-strip metal or vinyl lasts longer on high-traffic doors.
Add or replace door sweeps on the bottom of each exterior door. A good sweep should brush lightly against the threshold without dragging so hard that the door is difficult to close.
Insulate exposed pipes in unheated spaces
Pipes running through garages, crawl spaces, or uninsulated basements are vulnerable to freezing when temperatures drop well below freezing. Slide foam pipe insulation sleeves over these pipes and secure any joints with duct tape. Pay particular attention to pipes along exterior walls.
Know where your main water shutoff valve is located before winter - if a pipe does freeze and burst, fast shutoff limits the damage.
Check and seal the attic hatch or door
Pull-down attic stairs and hatches are common weak points - the opening itself may be insulated, but the hatch cover often has no weatherstripping, meaning warm air flows freely into the cold attic space. Add adhesive foam tape around the hatch perimeter and, if the hatch is a simple piece of drywall or plywood, consider attaching rigid foam board insulation to the attic-facing side.
Test and service your heating system
Replace the furnace filter if you haven't done so recently - a clogged filter forces the system to work harder and reduces efficiency. Check that all supply and return vents are open and unobstructed by furniture or rugs.
Have your heating system professionally serviced if it hasn't been inspected in the past year, particularly for any gas-fired equipment. A qualified HVAC technician can check heat exchangers, burners, and flue connections - components where failure poses safety risks that go beyond inconvenience.
Start Early, Before the Rush
Hardware stores often run low on weatherstripping and pipe insulation as temperatures drop. Completing these tasks in early fall - before the first hard freeze - gives you time to order anything you need and avoid working in the cold. It also means your home is protected before the worst weather arrives, not scrambling during it.
Don't Overlook the Attic
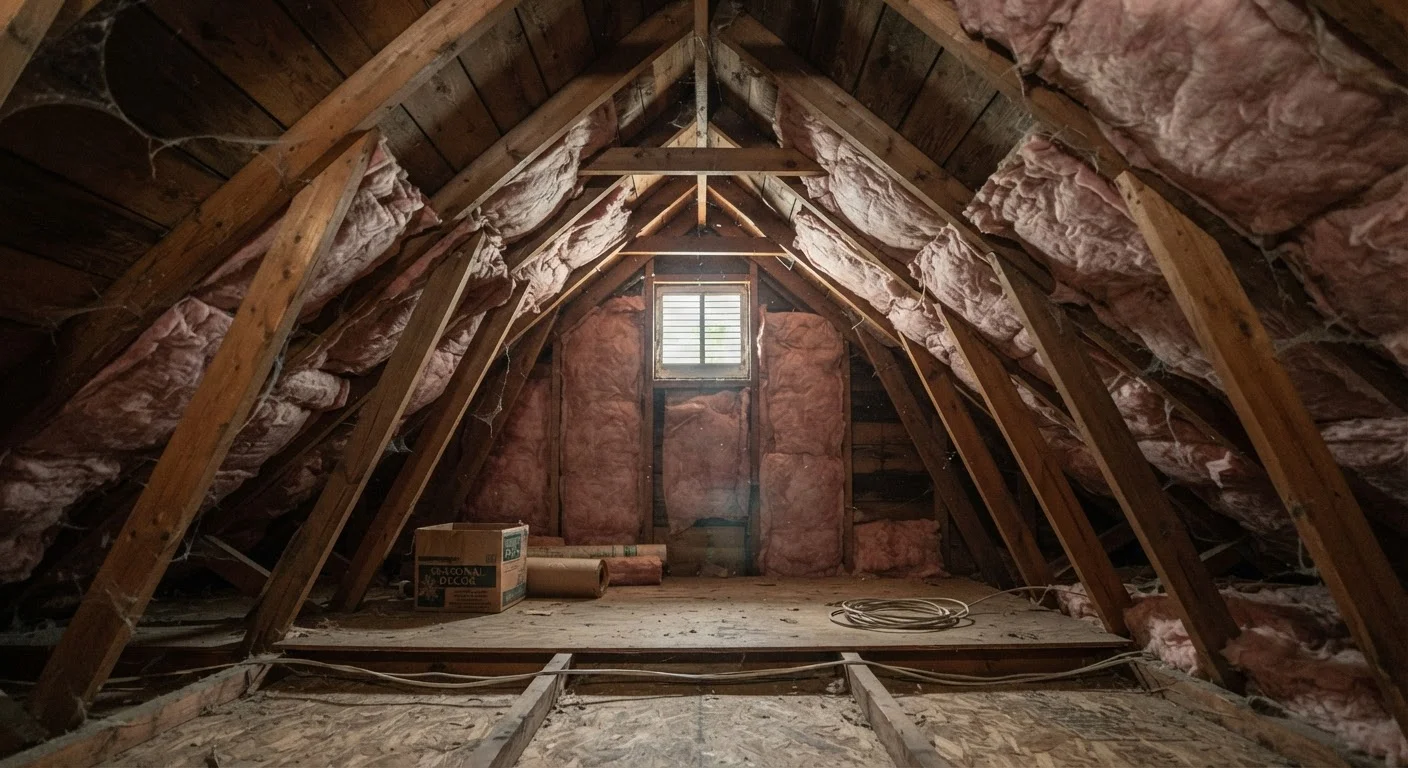
The attic is where a surprising amount of heated air escapes. Gaps around light fixtures, plumbing penetrations, and pull-down stair openings can collectively rival the heat loss of an unsealed window. Before adding insulation, seal any air bypasses with appropriate materials - foam or fire-rated caulk depending on the penetration type.
Insulation and ventilation are not at odds: a well-sealed, adequately insulated attic still needs proper airflow to prevent moisture buildup and ice dams. Our article on attic ventilation explains how the two systems work together and what to look for during your inspection.
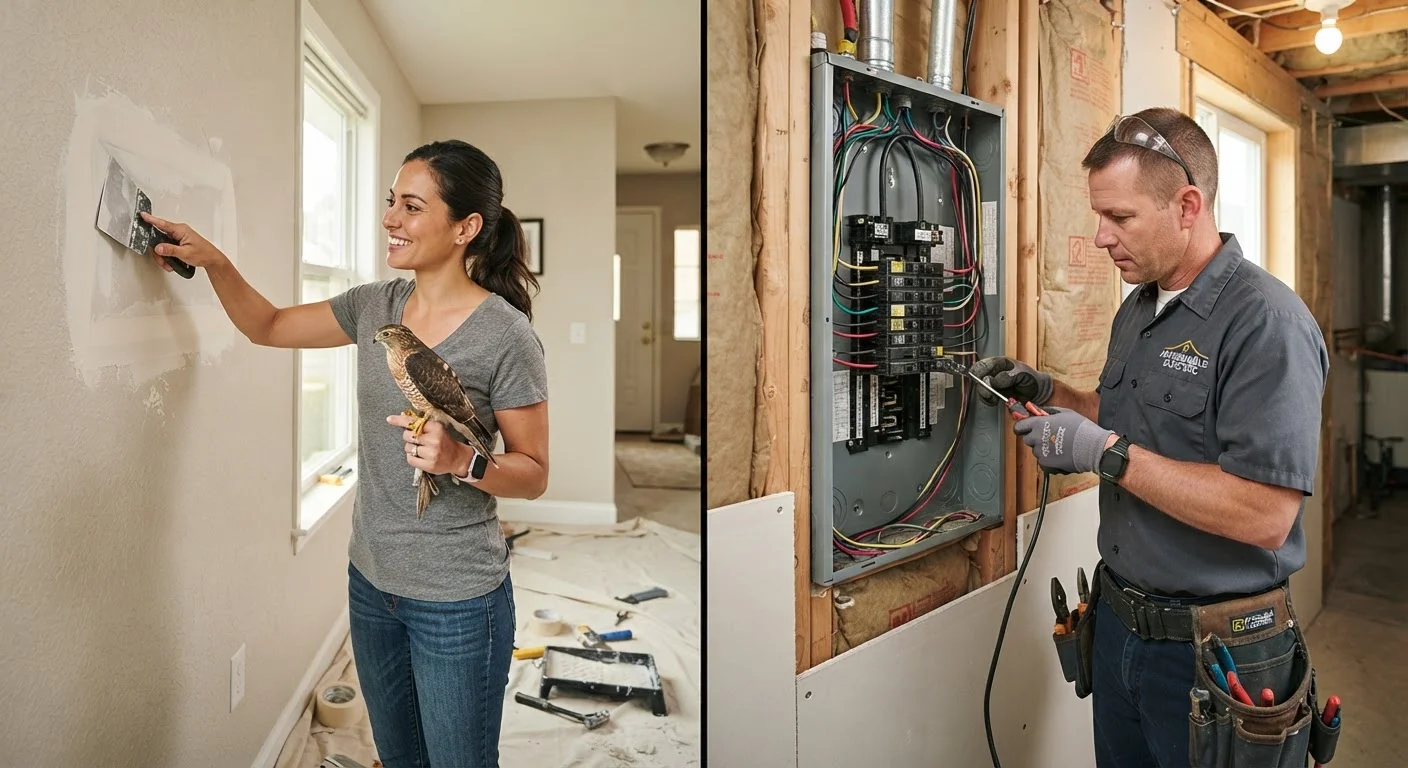
If your attic insulation is compressed, thin, or missing in spots, consider consulting a qualified insulation contractor - attic work can be straightforward, but navigating trusses and ensuring even coverage takes experience. Any work involving recessed lighting or electrical fixtures in the attic ceiling should be handled by a licensed electrician.
Never Block Attic Ventilation
When adding attic insulation, keep soffit vents clear. Blocking them traps moisture and can cause ice dams to form along the roofline, leading to water intrusion and shingle damage. Use rafter baffles (also called vent chutes) to maintain an airflow channel from soffit to ridge even as you add insulation depth.
After Winter: Close the Loop
Weatherization isn't a one-and-done project. Once spring arrives, do a structured walkthrough to see how your home held up - look for any caulk that cracked, insulation that shifted, or new gaps that opened from freeze-thaw cycles. The spring exterior walkthrough is a practical guide for spotting winter damage before small issues become expensive ones.
And while you're in seasonal-prep mode, don't forget outdoor spaces: preparing your garden for the first frost rounds out your fall routine by protecting plants, soil, and beds before temperatures plunge.