
Why Fall Garden Prep Matters
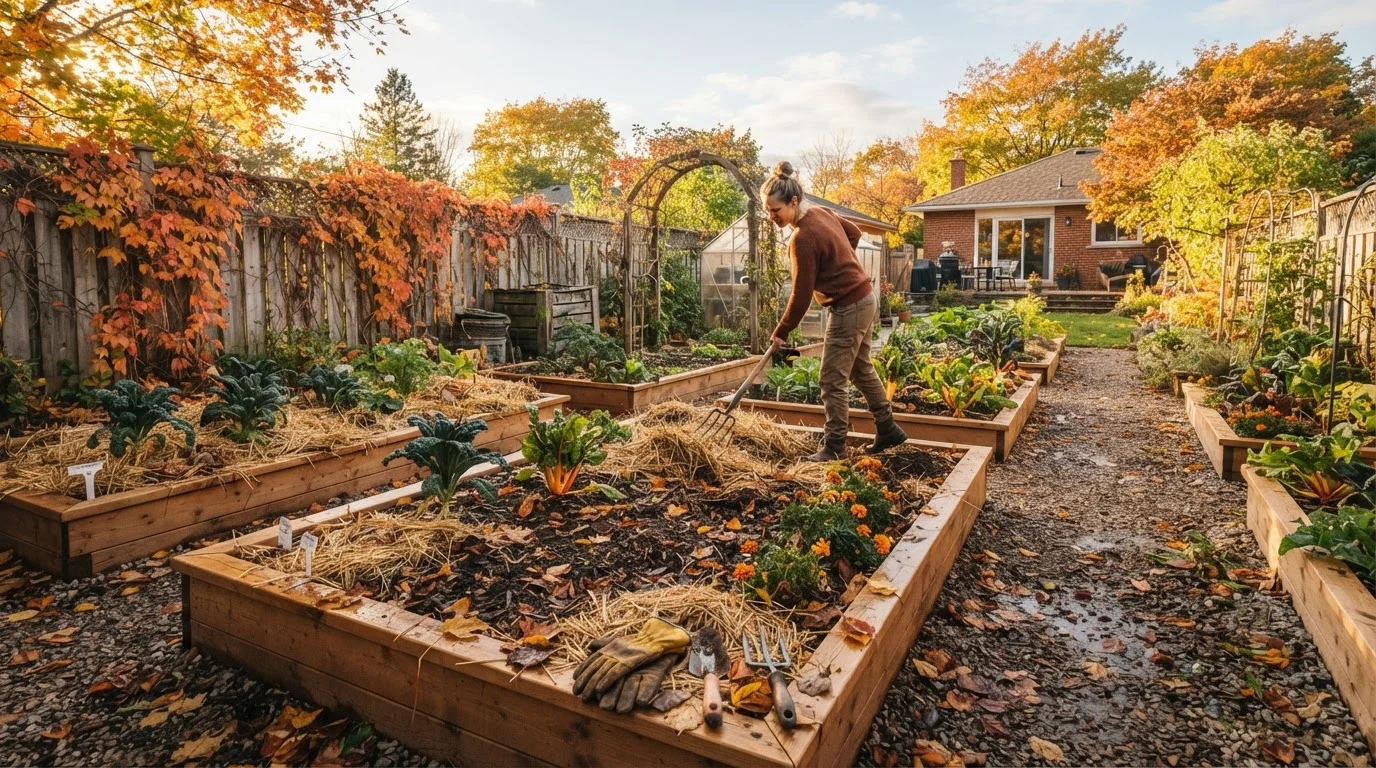
Gardening success is often decided months before the first seed goes in the ground. The tasks you complete in fall - amending soil, protecting roots, planting bulbs, cleaning up debris - create the foundation that determines how vigorously your garden bounces back each spring. Skipping this window doesn't just leave your plants vulnerable to winter damage; it means playing catch-up come March when you're busy trying to plant instead of repair.
Before working through this checklist, take a moment to look up your area's average first frost date. That date anchors your timing for nearly every task below. If you're not familiar with how USDA hardiness zones and microclimates affect your specific yard, understanding frost dates and microclimates is a practical place to start - your backyard conditions may differ meaningfully from what a regional average suggests.
Work through these groups in order if you can, but know that most tasks have some flexibility. The goal is to complete everything before the ground freezes solid.
Know Your Timing
Harvest and Clear Beds
Soil Care
Bulb Planting
Mulching and Winter Protection
Tool and Equipment Winterizing
Tools and Supplies You'll Need
Having the right materials on hand before you start saves multiple trips to the store and keeps your momentum going. Gather everything below before your first work session.
Garden fork or spade
Turning compost into beds and loosening compacted soil without disrupting beneficial soil structure.
Pruning shears (bypass style)
Cutting back spent perennials and removing diseased plant material cleanly at the stem.
Bulb planting tool or trowel
Digging consistently sized and spaced holes for spring bulbs at the correct depth.
Soil thermometer
Confirming that soil temperature is in the correct range before planting bulbs or applying mulch.
Compost or aged manure (2-3 cubic feet per 50 sq ft of bed)
Replenishing organic matter and nutrients in cleared beds over winter.
Organic mulch (shredded leaves, straw, or wood chips)
Insulating perennial roots from freeze-thaw cycles through the winter months.
Burlap fabric
Wrapping exposed or marginally hardy shrubs to reduce wind desiccation and temperature extremes.
Soil test kit or lab submission bags
Measuring pH and nutrient levels so amendments can be applied accurately over winter.
Protecting Your Investment Through Winter
The checklist above covers the mechanics, but a few principles are worth keeping in mind as you work. Mulch is your garden's single most important insulator - but depth matters. Too little and roots experience damaging freeze-thaw cycles; too much and crowns stay wet and rot. For most perennials, 2-4 inches of organic mulch applied after the ground has cooled (but before it freezes) is the practical target. For a deeper look at material choice and seasonal timing, see mulching done right.
Fall is also the ideal moment to do a hard assessment of your soil. Compacted, depleted, or poorly draining soil won't fix itself over winter without your help. Working compost or aged manure into beds now gives organic matter roughly six months to break down before you're asking soil to support seedlings. If this is your first season building garden beds from scratch, a first-season vegetable garden walkthrough covers soil fundamentals in detail.
Don't Mulch Too Early - Or Too Thick
Applying mulch while soil is still warm can keep the ground from cooling down naturally, which may delay perennials entering dormancy and leave crowns vulnerable to rot. Wait until after two or three hard frosts before mulching perennial beds. Also avoid piling mulch directly against plant crowns or woody stems - keep a small gap to allow airflow and prevent moisture buildup that invites fungal disease.
Finally, don't overlook the non-plant side of fall prep. Draining and storing hoses, shutting off outdoor faucets, and checking that irrigation systems are properly blown out prevents costly freeze damage. For a broader view of what needs attention around the outside of your home this season, the fall home maintenance checklist covers gutters, roofing, heating systems, and more.