
What to Expect Before You Start
Setting up a smart TV can feel overwhelming when you're greeted by a cascade of menus, permission prompts, and unfamiliar brand terminology. The good news: the core process is the same across virtually all major platforms. You'll connect to Wi-Fi, accept some terms, update the software, and personalize a few settings. It typically takes between 20 and 45 minutes from unboxing to first stream.
If you're building out a broader home tech setup, this TV is likely one piece of a larger puzzle. The room-by-room home tech setup guide covers how a TV fits into a thoughtfully planned living space. And if you're wondering whether a smart TV is even the right choice for your situation compared to a streaming stick, this breakdown of smart TVs vs. streaming sticks can help clarify the difference before you go further.
What you will need
Gather everything above and place it within reach. The setup wizard won't wait long before timing out on certain screens.
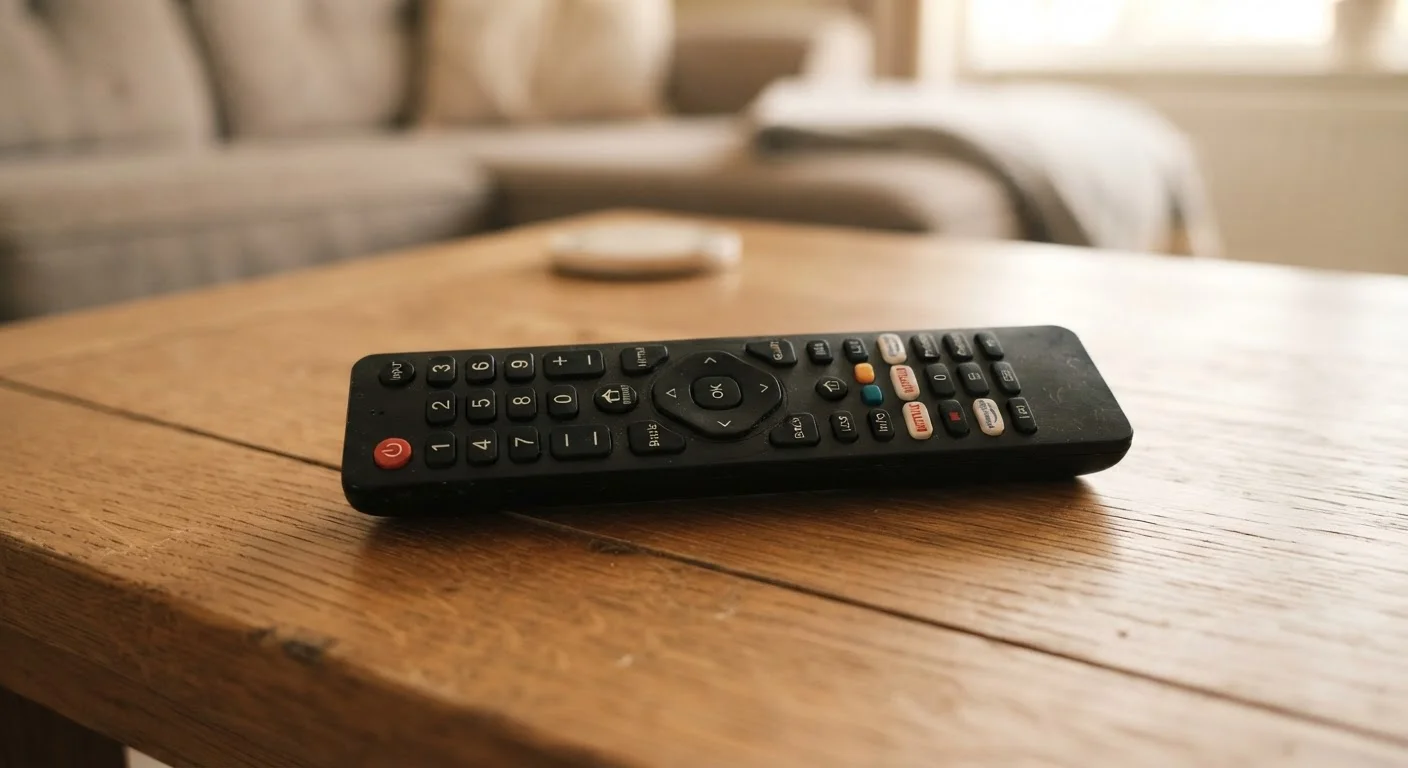
TV remote (with fresh batteries)
Primary navigation tool for all on-screen setup steps.
Wi-Fi password
Required to connect the TV to your home network.
HDMI cable
Connects external devices like a soundbar, cable box, or gaming console to the TV.
Streaming service account credentials
Used to sign in to apps like Netflix, Hulu, or other services after installation.
Walking Through the Setup Steps
Follow the steps below in order. The on-screen wizard will guide most of the early steps - just use the prompts as a checklist against what you see on screen.
Choose your language and region
When you power on a new smart TV for the first time, it walks you through a setup wizard. The first screens ask for your preferred language and your country or region. Choose carefully - region settings affect which apps are available and how the TV formats dates, times, and broadcast channels.
Connect to your Wi-Fi network
Select your home network from the list of available networks and enter your Wi-Fi password using the on-screen keyboard. Take your time here - passwords are case-sensitive, and a single wrong character will block the connection. If your network doesn't appear, try moving the TV closer to your router or restarting the router before trying again.
Accept terms and sign in (or skip)
Most smart TV platforms - such as those from major manufacturers - will ask you to agree to their terms of service and optionally sign in with an account. Signing in links your TV to an app ecosystem, lets you download additional streaming apps, and may sync preferences. You can usually skip this step and sign in later from the Settings menu if you prefer.
Run any available software updates
Before doing anything else, check for a firmware update (software that runs the TV itself). Navigate to Settings → Support → Software Update - the exact path varies by brand, but it's usually under a Support or About section. Install any available update and let the TV restart. This step eliminates bugs present in the version that shipped from the factory.
Adjust picture and sound settings
Factory picture presets - often labeled 'Vivid' or 'Dynamic' - are calibrated for bright showroom floors, not home living rooms. Switch to a Standard or Movie/Cinema preset for more natural colors. Reduce or disable motion smoothing (sometimes called Auto Motion Plus or TruMotion) if movement on screen looks unnaturally fluid. For sound, try a preset like Movie or Standard, and adjust dialog clarity if voices sound muffled.
Set up your streaming apps
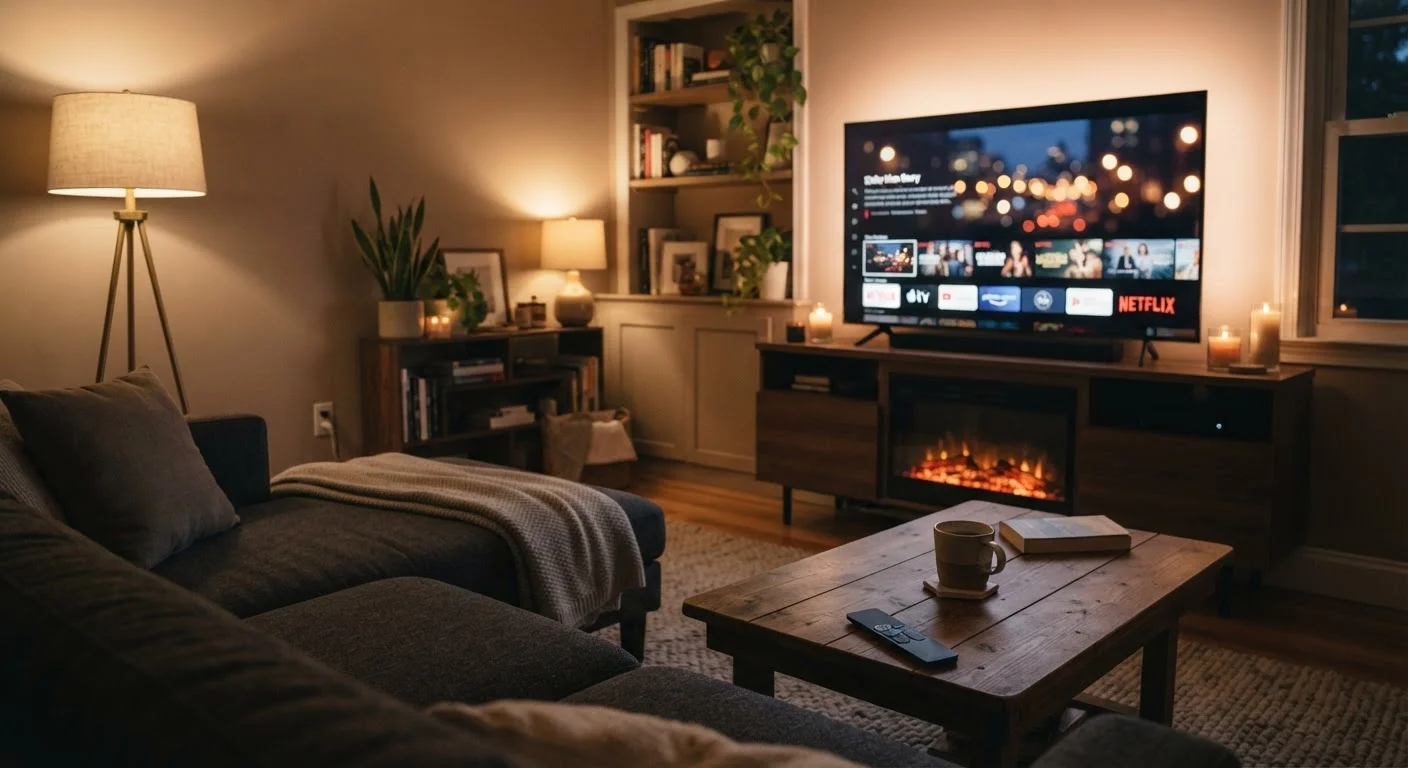
Head to the TV's app store (the name varies - it may be called the App Store, Content Store, or Smart Hub). Search for the streaming services you subscribe to and install them. Sign in to each with your account credentials. Arrange your favorites so they appear prominently on the home screen - this is usually done by highlighting an app and pressing an options or 'move' button on the remote.
Connect any external devices
If you're connecting a soundbar, game console, cable box, or streaming stick via HDMI, plug those in now and label each HDMI input through the TV's input settings. Giving inputs descriptive names (like 'Soundbar' or 'Gaming') makes switching between them much less confusing later. For a soundbar, check whether your TV supports HDMI ARC (Audio Return Channel) - this single cable can handle both audio and control signals.
Don't Skip the Software Update
Smart TVs can sit in warehouse and store inventory for months before they reach you, meaning the software on yours may already be outdated. Skipping the update step can leave you with buggy apps, missing features, or connectivity problems that an update would have solved. Always check for and install available updates before you start using the TV daily.
Common Hiccups and How to Handle Them
Even a smooth setup occasionally hits a snag. Here are the most frequent issues and straightforward fixes:
- Wi-Fi won't connect: Double-check your password character by character. If you're still stuck, restart your router and try again. Some TVs also have trouble with special characters in network names - temporarily renaming your network to something simple can help.
- Apps won't load or install: This usually means the software update didn't finish properly. Go back to Settings and run the update check again.
- Remote isn't responding: Replace the batteries, then hold the Home button for several seconds to re-pair a Bluetooth remote. Infrared remotes just need a clear line of sight to the TV sensor.
- Picture looks wrong after setup: Go back to the picture settings and cycle through the presets. If nothing looks right, a factory reset on just the picture settings (not the whole TV) is usually available under Advanced Picture options.
Your Settings Aren't Set in Stone
Many first-time smart TV owners feel pressure to get everything perfect during the initial setup wizard - but you don't have to. Every setting adjusted during setup can be changed afterward through the main Settings menu. If you skipped signing in, changed your mind about privacy options, or just want to swap picture presets, it's all accessible anytime from the home screen.
If your smart home ambitions go beyond the TV, this beginner's guide to smart home setup explains which devices to add first and why sequence matters.