
Why Most Compost Piles Fail - and What Changes That
A pile of kitchen scraps and yard trimmings left alone will eventually decompose, but that process is slow, smelly, and unpredictable. True composting - the kind that produces dark, crumbly, garden-ready material in a matter of months - depends on creating conditions where microorganisms actively thrive. Those organisms need four things: carbon, nitrogen, moisture, and oxygen. Get those four elements into rough balance, and your pile becomes a biological engine rather than a slow-rotting heap.
The most common failure point is an imbalanced pile: too many greens (nitrogen-rich materials like food scraps and fresh grass) without enough browns (carbon-rich materials like dry leaves, cardboard, or straw). A pile heavy on greens turns wet, slimy, and odorous. A pile heavy on browns dries out and barely moves. The fix is straightforward once you understand what you're working with.
Finished compost is also one of the most cost-effective soil amendments a home gardener can make. As explored in our guide to soil amendments, compost improves structure in both sandy and clay soils while slowly releasing nutrients plants can actually use.
What You'll Need Before You Start
Setting up your system requires a few basic materials and a suitable location. Choose a spot that gets partial shade, drains well, and is reasonably convenient to both your kitchen and garden beds - you'll visit it regularly.
What you will need
Compost bin or tumbler
Contains materials, retains moisture, and speeds decomposition by concentrating microbial activity.
Garden fork or pitchfork
Used to turn and aerate the pile, which is essential for keeping oxygen levels high.
Compost thermometer
Monitors internal pile temperature to confirm active decomposition is occurring (130-160°F is ideal).
Kitchen compost crock or countertop bin
Collects food scraps indoors between trips to the outdoor pile, reducing odor and pests.
Hardware cloth or mesh screen
Used to sift finished compost and separate undecomposed chunks that go back into the pile.
Building and Managing Your Compost System
Follow these steps to build a functioning system from scratch and keep it producing reliably. Each step explains not just what to do, but why it matters for the microbes doing the actual work.
Choose a container or designate a pile area
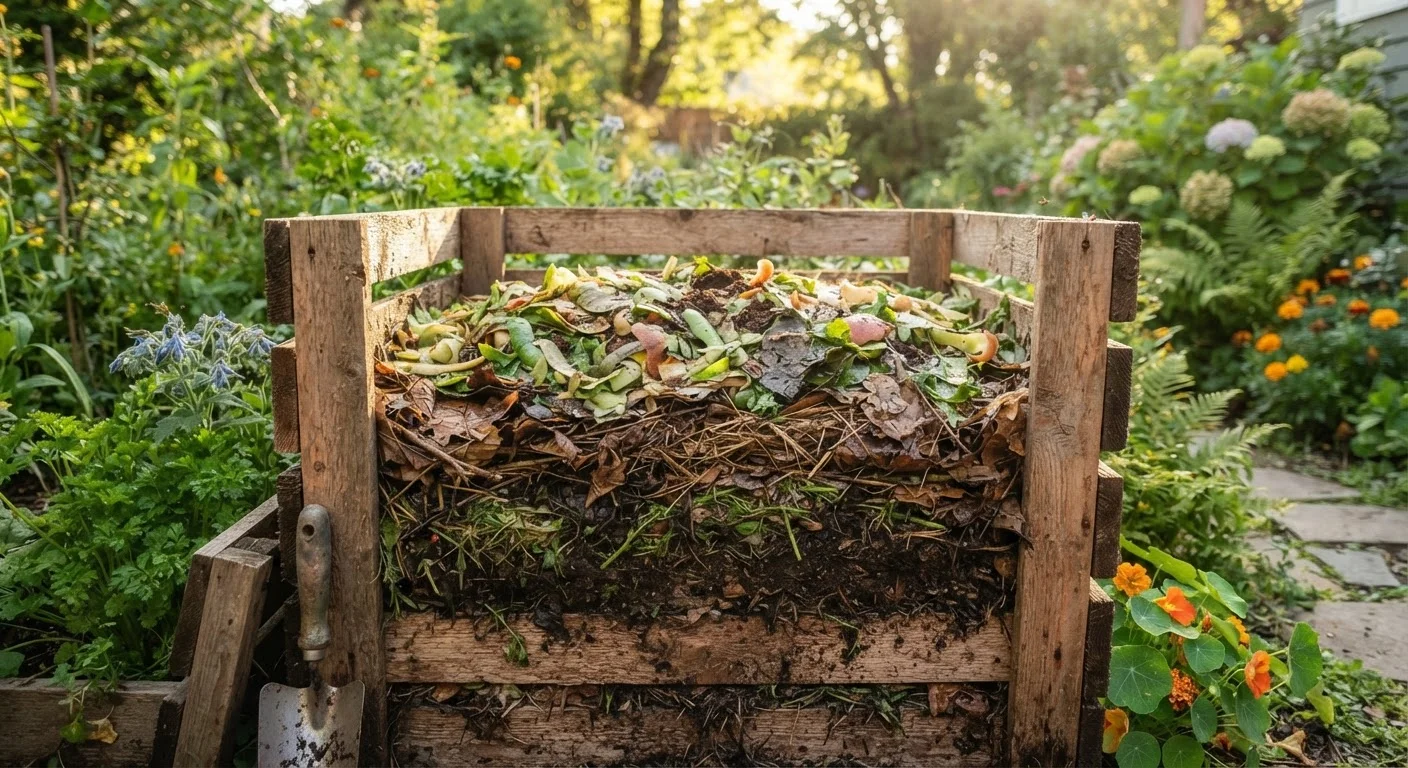
Enclosed bins work well in smaller yards and help deter pests. Open three-sided bays or simple wire cages are lower cost and easier to turn. A tumbler speeds decomposition but requires more frequent attention. Any container should allow air in on the sides. Minimum size for an open pile is roughly 3 feet × 3 feet × 3 feet - smaller than that and the pile can't generate enough internal heat to work efficiently.
Stockpile browns before you add greens
The most common beginner mistake is starting with a load of food scraps and nothing else. Before you add any greens, gather a supply of dry leaves, torn cardboard (remove tape and glossy coatings), straw, or wood chips. This gives you immediate ability to layer and balance. A rough working ratio is 3 parts browns to 1 part greens by volume, though you'll adjust by observation over time.
Add materials in alternating layers
Start with a 2-4 inch layer of coarse browns at the base to encourage airflow. Add a 1-2 inch layer of greens (fruit and vegetable scraps, coffee grounds, fresh grass clippings). Cover with another layer of browns. Continue this pattern as materials accumulate. You don't need to be precise - the goal is a rough mix, not a perfect alternation.
What to include (greens): vegetable and fruit scraps, coffee grounds and paper filters, tea bags (remove staples), fresh plant trimmings, eggshells.
What to include (browns): dry leaves, shredded newspaper, cardboard, paper bags, straw, wood chips.
What to exclude: meat, fish, bones, dairy, oily foods, diseased plant material, pet waste, or anything treated with pesticides.
Maintain moisture like a wrung-out sponge
Your pile should feel moist throughout but not dripping. Squeeze a handful - a few drops of water should be the maximum you get. If it's bone dry, add water slowly while turning. If it's sopping, add dry browns and turn to aerate. In hot, dry climates you may need to water the pile occasionally; in rainy regions, covering the pile helps prevent waterlogging.
Turn the pile regularly to introduce oxygen
Turning is what separates active composting from passive rotting. Use a fork to move material from the outside of the pile to the center and vice versa. For fastest results, turn every 3-7 days. For a more hands-off approach, turning every 2-4 weeks still produces compost, just more slowly. When you turn, check moisture, smell, and look for visible fungal threads or steam - signs the pile is working well.
Stop adding to the pile and let it finish
Once your pile reaches a manageable size, stop adding new materials and let it cure. This finishing phase typically takes 4-8 weeks after active decomposition slows. Starting a second bin for new scraps during this period keeps your supply flowing. The pile will shrink significantly - sometimes by half - as materials fully break down into finished compost.
Coffee Grounds Are a Composting Workhorse
Coffee grounds are nitrogen-rich, easy to add in quantity, and help maintain moisture balance. They also attract beneficial earthworms. If you don't drink much coffee, many local coffee shops will give away used grounds - just call ahead and ask.
Avoid Composting Diseased Plant Material
Plants affected by fungal diseases such as powdery mildew, blight, or rust should not go into a home compost pile. Most backyard piles don't reach sustained temperatures high enough to destroy pathogens reliably. Bag and dispose of diseased material instead to avoid reintroducing problems to your garden.
Troubleshooting, Using Finished Compost, and Going Further
Even well-managed piles occasionally stall. If your pile smells like ammonia, add more browns and turn it. If it's dry and inactive, add water and a fresh layer of greens. If it smells like rotten eggs, it's too wet and compacted - turn it immediately to reintroduce oxygen.
Compost is ready to use when it looks and smells like dark, earthy soil. You should not be able to identify the original ingredients. Screen out any large unfinished chunks and return them to the active pile. Apply finished compost 1-3 inches deep worked into planting beds, or use it as a top dressing around established plants.
If you're planning new growing areas, finished compost pairs well with the approaches covered in our raised beds vs. in-ground planting guide. And if you're applying it to established beds, pairing compost with the right mulching strategy helps lock in moisture and extend its benefits through the growing season.