
Why This Walk-Around Matters More Than the Drive
Most buyers go straight for the keys. That's exactly what sellers - private or dealership - are counting on. Once you're behind the wheel enjoying the drive, the psychological momentum of the purchase kicks in and red flags get rationalized away.
A structured inspection before you ever start the engine puts you in control. It's the discipline that separates buyers who get fair value from those who discover a cracked frame or a rebuilt transmission three weeks after signing. This checklist is designed to work whether you're on a dealer lot or a private driveway, and it pairs naturally with the full car-buying journey - the pre-drive inspection fits squarely in the evaluation phase before you ever negotiate price.
Bring this list on your phone or printed out. Work through it systematically. Don't let a salesperson rush you.
Flashlight or phone torch
Illuminate dark areas under the hood, inside wheel wells, and beneath the car where leaks and rust hide.
Vehicle history report
Review the car's title history, reported accidents, odometer readings, and number of previous owners before your visit.
OBD-II diagnostic scanner
Read stored and pending trouble codes from the vehicle's computer that may not have triggered a visible dashboard light.
Tire tread depth gauge
Measure remaining tread depth on all four tires accurately rather than relying on visual estimation alone.
Magnet
Detect areas of body filler on panels - magnets don't stick to filler, helping you find repaired collision damage.
Exterior: What to Look for Before Opening a Door
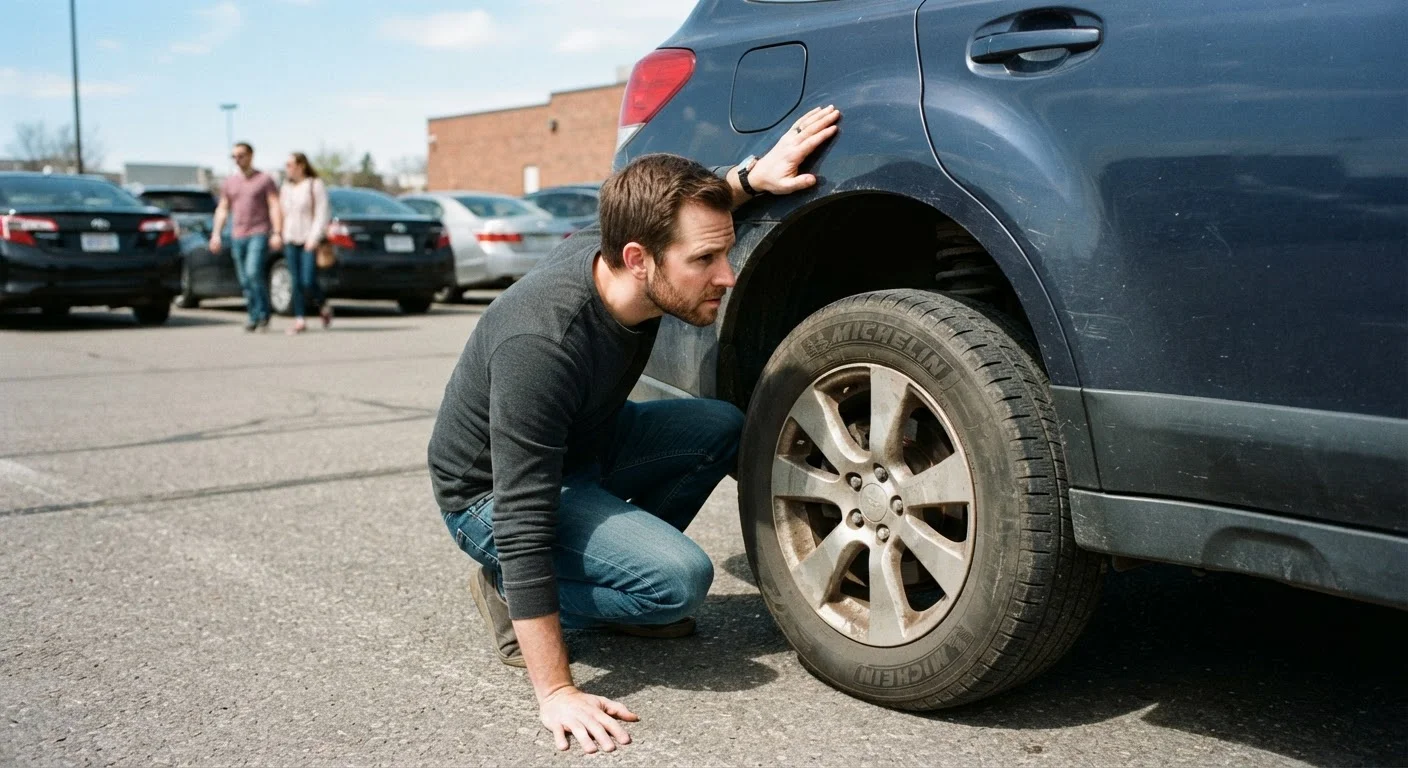
Do your exterior inspection in natural daylight, never under artificial lot lighting, which is designed to make paint look uniform and flaws invisible. Walk the entire perimeter slowly.
Exterior Inspection
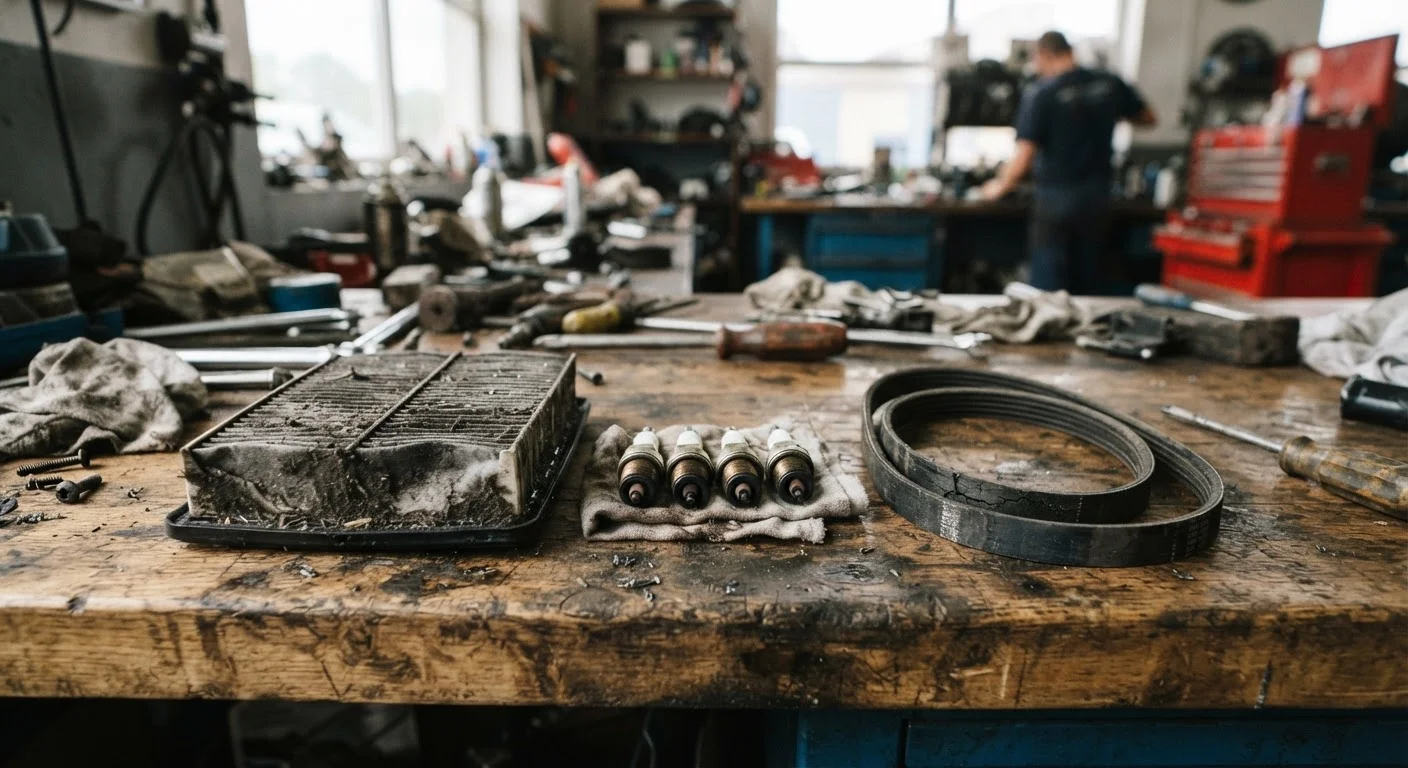
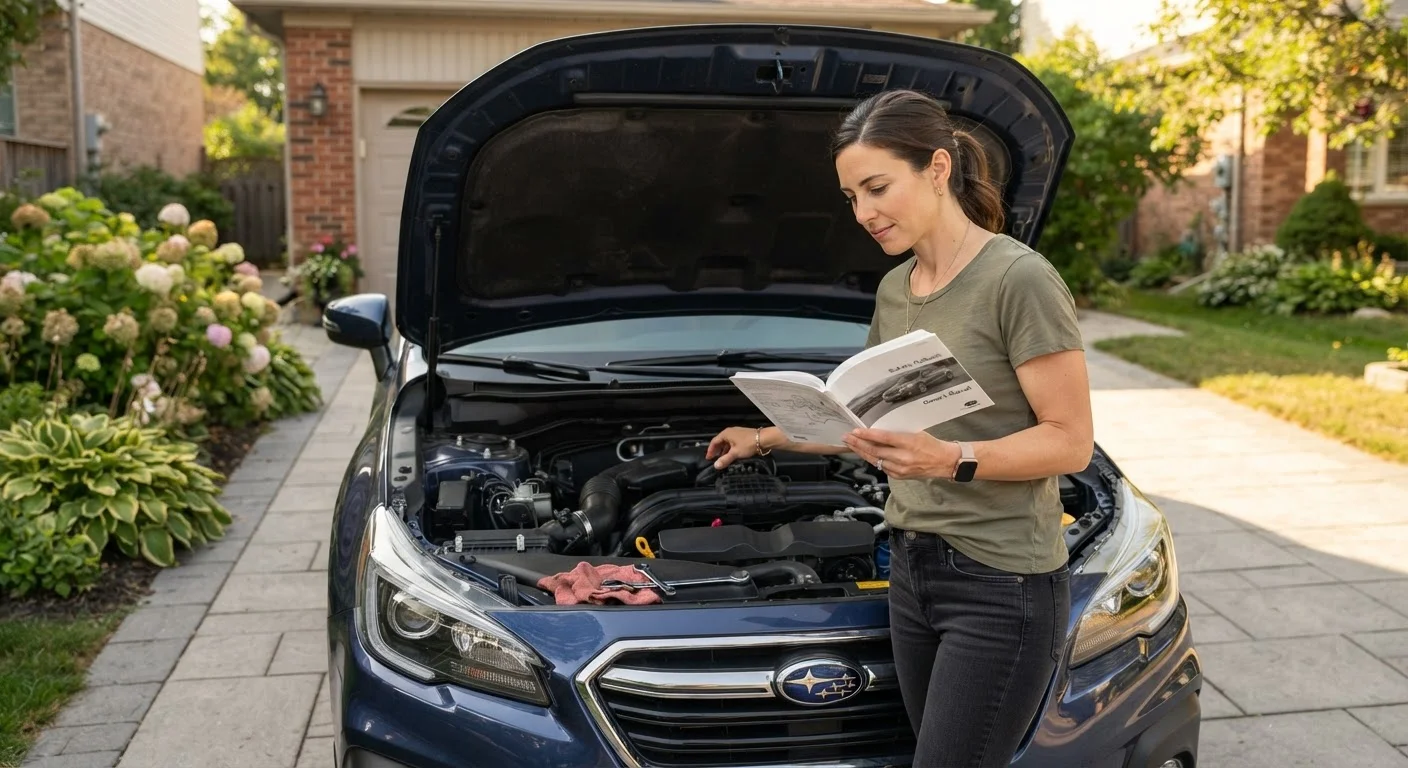
Under the Hood
Interior Checks
During the Test Drive
Artificial Lighting Hides Paint Defects
Many dealer lots use bright overhead lighting specifically angled to make vehicle finishes look uniform and glossy. If you're visiting in the evening or inside a showroom, schedule a follow-up daytime walk-around before committing. A five-minute look in natural sunlight can expose paint mismatches and bodywork repairs that would otherwise remain invisible until you've already signed paperwork.
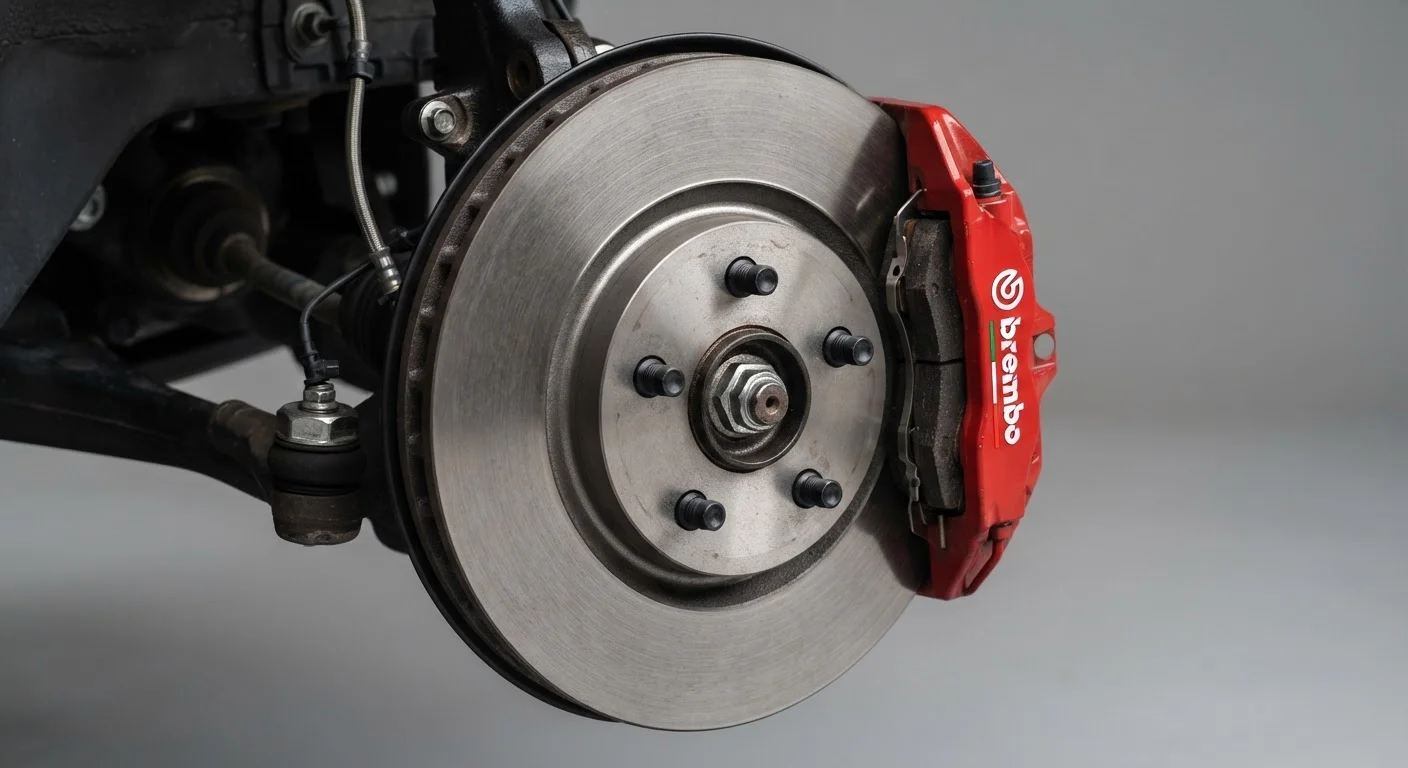
If you spot significant rust on structural areas - floor pans, frame rails, or suspension mounts - that's a category of problem a paint job cannot fix. Understand the difference between cosmetic surface rust and structural corrosion before proceeding. A qualified mechanic can help you distinguish them during a pre-purchase inspection, which is covered in detail in our guide to what a multi-point vehicle inspection covers.
Under the Hood and Underneath the Car
You don't need to be a mechanic to perform a useful under-hood inspection. You're looking for evidence of neglect, leaks, and recent repairs that haven't been disclosed. Knowing how to check key car fluids will help you interpret what you see here.
Ask to start a cold engine - one that's been sitting overnight is ideal. Cold starts reveal oil pressure issues, rough idle, and exhaust smoke that warm engines can temporarily mask. A seller who insists the car is already warmed up should raise your suspicion.
Never Skip an Independent Pre-Purchase Inspection
No matter how thorough your personal walk-around, a qualified independent mechanic can identify problems that require a lift, diagnostic tools, or trained eyes - things no checklist can fully substitute for. Budget roughly $100-$200 for a pre-purchase inspection at a shop of your choosing, not one recommended by the seller. Paying this fee on a car you ultimately don't buy is still money well spent if it saves you from a serious mechanical problem.
Interior and Electronics: Slower Than You Think
Buyers consistently underestimate interior inspection time. Go through every switch, button, and control - not just the ones you expect to use daily. A non-functional heated seat is a minor inconvenience; a malfunctioning ABS system is a safety issue. Dashboard warning lights deserve particular attention. Our explainer on what dashboard warning lights actually mean will help you assess the severity of anything that illuminates during your check.
After you've completed the full inspection, you'll be in a much stronger position to evaluate the vehicle's overall condition - and to negotiate accordingly. For a broader view of what used-car ownership involves after the purchase, see our guide to building a car maintenance routine as a first-time owner.